New Release: Nebula 2.1 & Nebula Creator

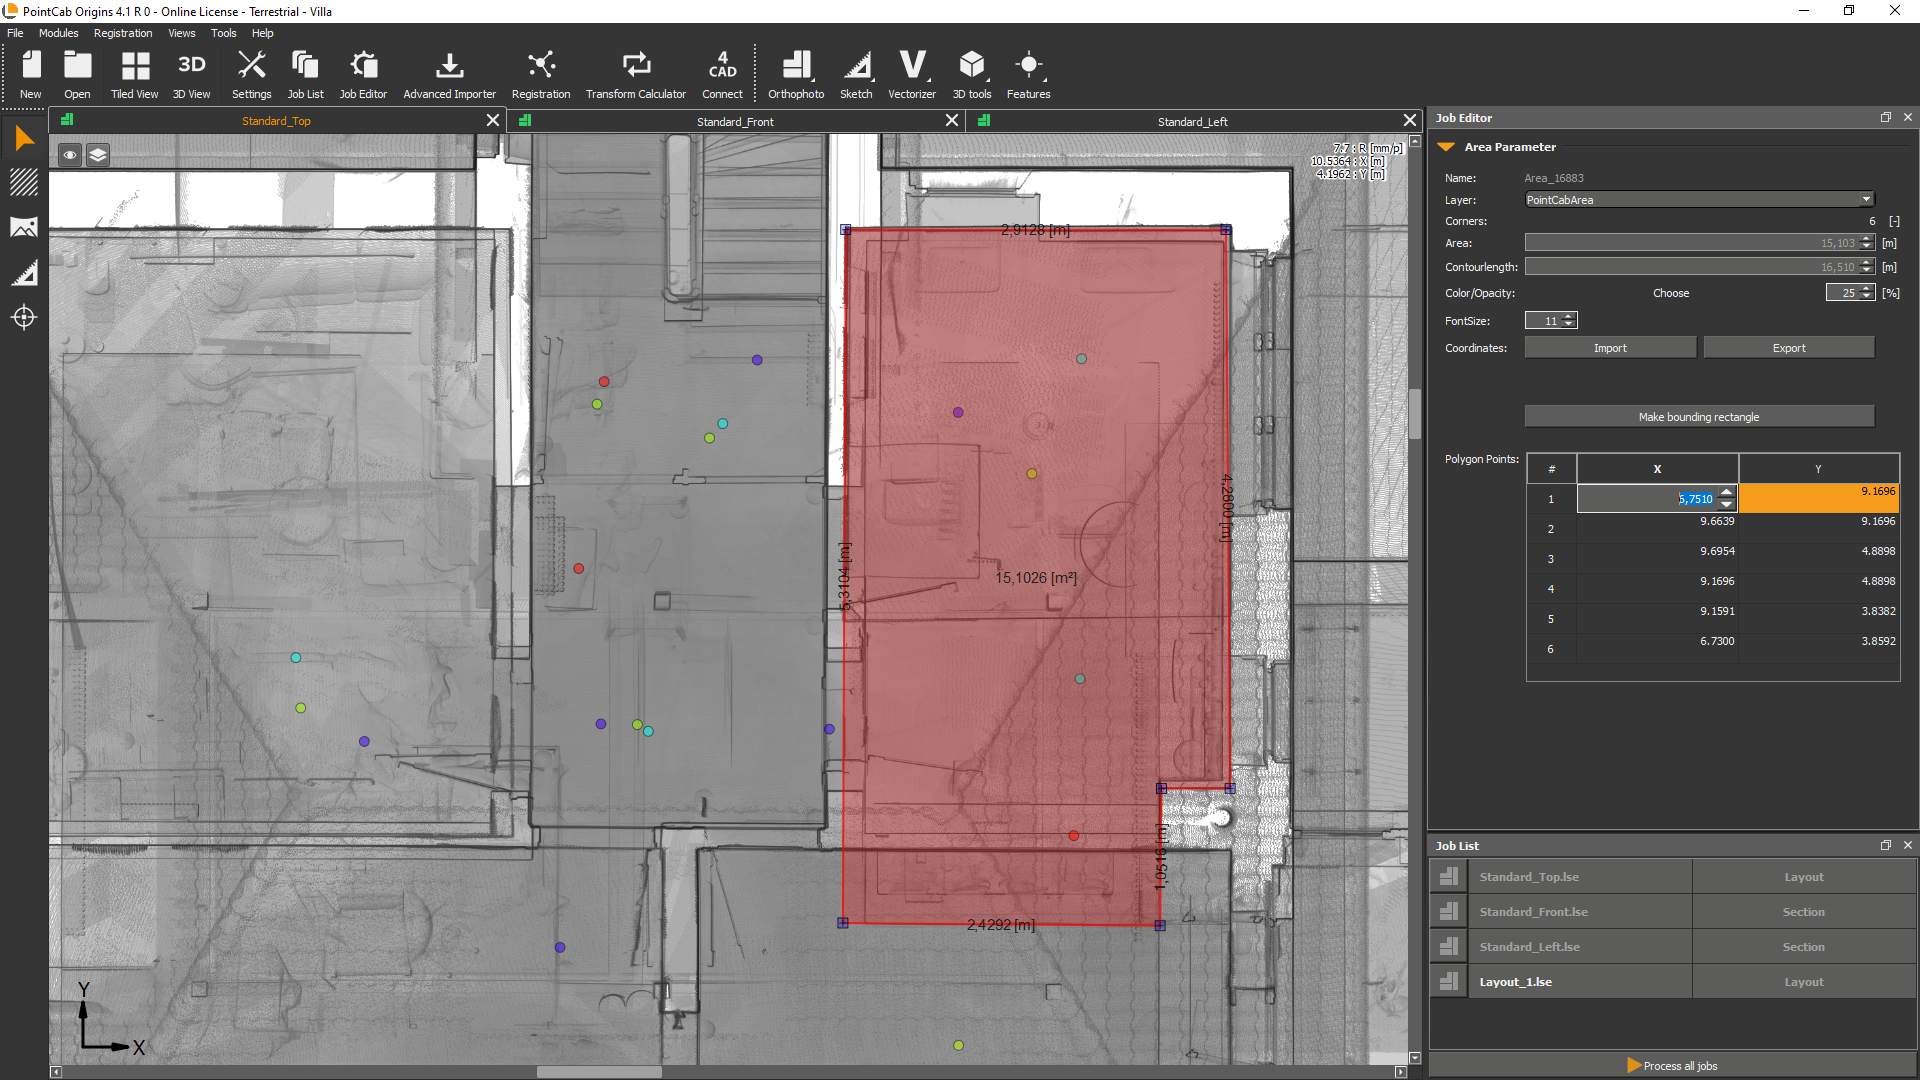
1. Nebula Creator
What it’s for
With the Nebula Creator, everyone can finally use Nebula for free – regardless of whether you’re already an Origins user or not.
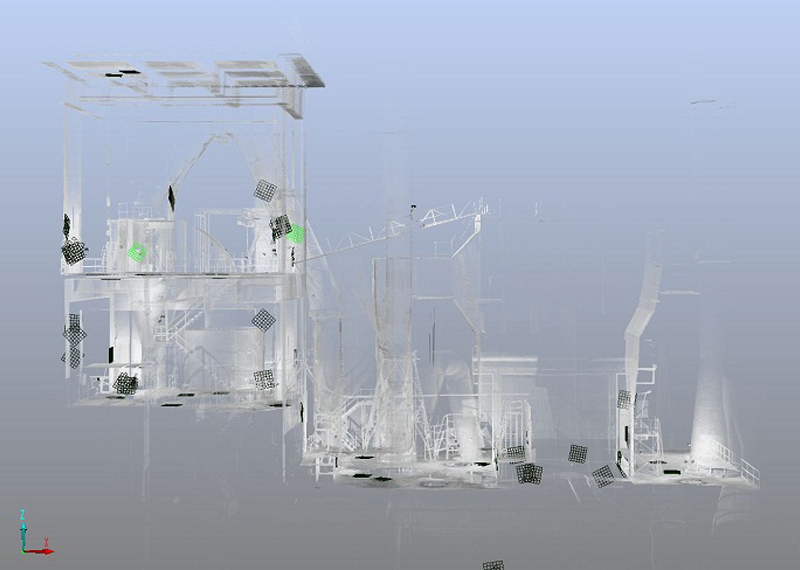
The Creator is a free desktop software that prepares point cloud projects for online visualization in Nebula.
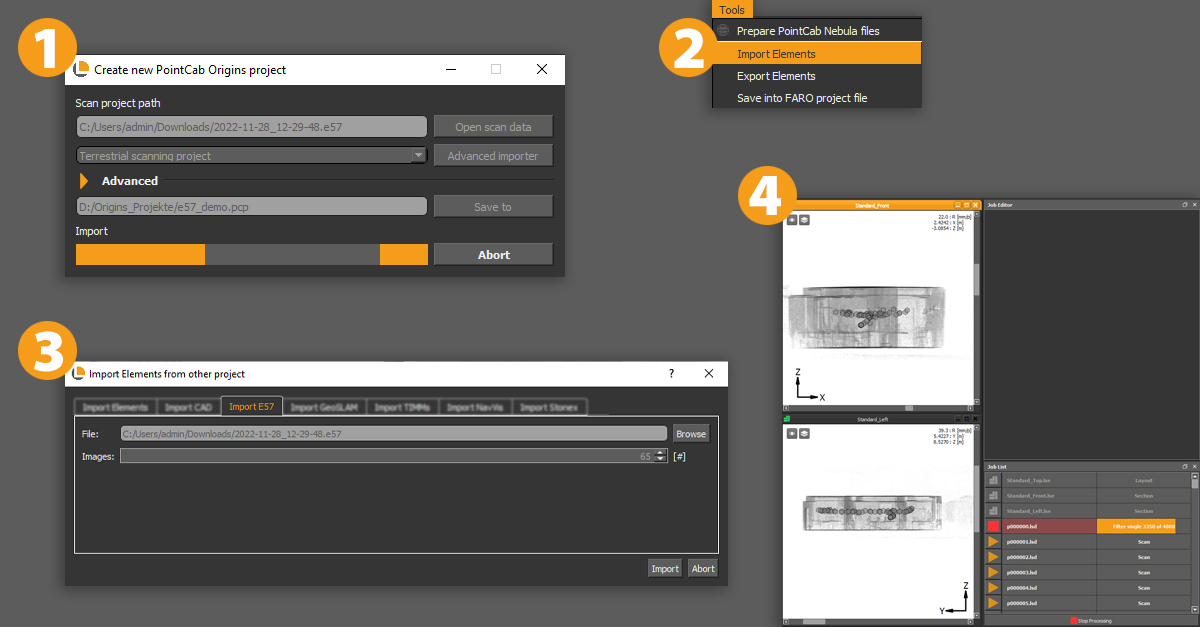
How it works
Download the Creator. Convert your point cloud data and add panos if you wish. Then simply follow the usual Nebula workflow. Done!
2. Nebula 2.1 – Most important new Features
AWS (Amazon Web Services) Compatibility
What it’s for
As promised, we are continuously expanding the number of cloud services that can be connected to Nebula. Due to strong demand, this update introduces support for AWS.
How it works
In the video, we show step by step how to connect your AWS account to Nebula – even without extensive IT knowledge.
The short version? Just follow the instructions laid out in Nebula.
New Download Manager
What it’s for
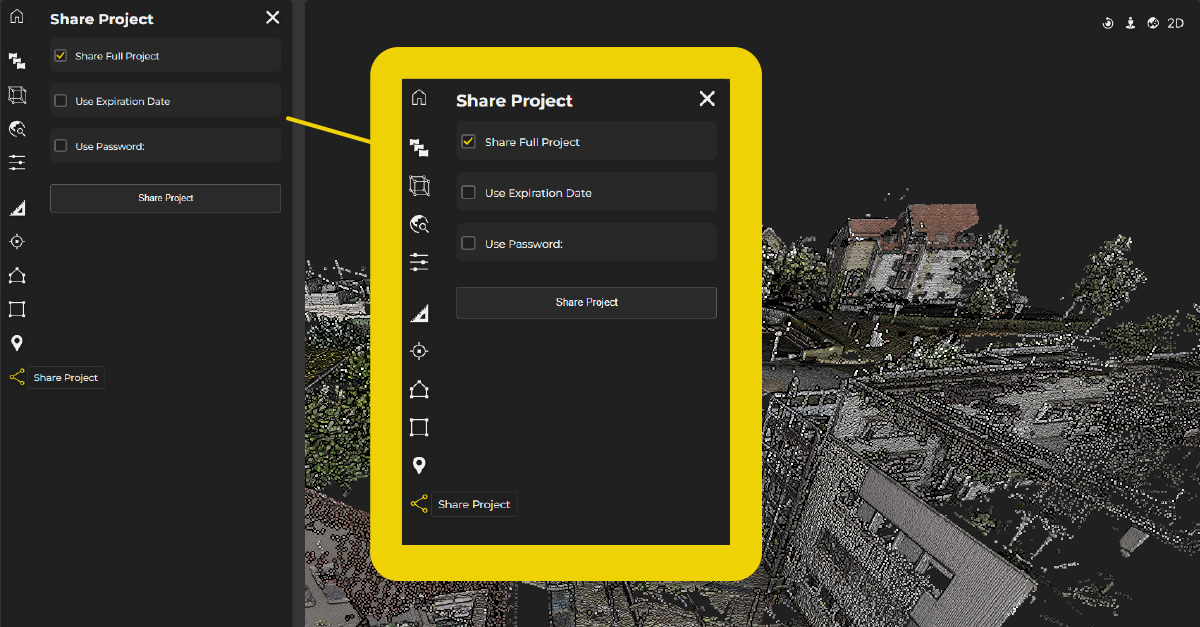
Our new Download Manager allows you to download orthophotos and 3D points directly in the browser – a long-awaited feature. This allows you not only to visualize results, but also to easily share them.
How it works
Click on the Download Manager icon in the menu at the bottom left. Select the desired orthophotos or 3D points in the new window. Click on “ALL” to select all available files at once. Simply click on Download – done.
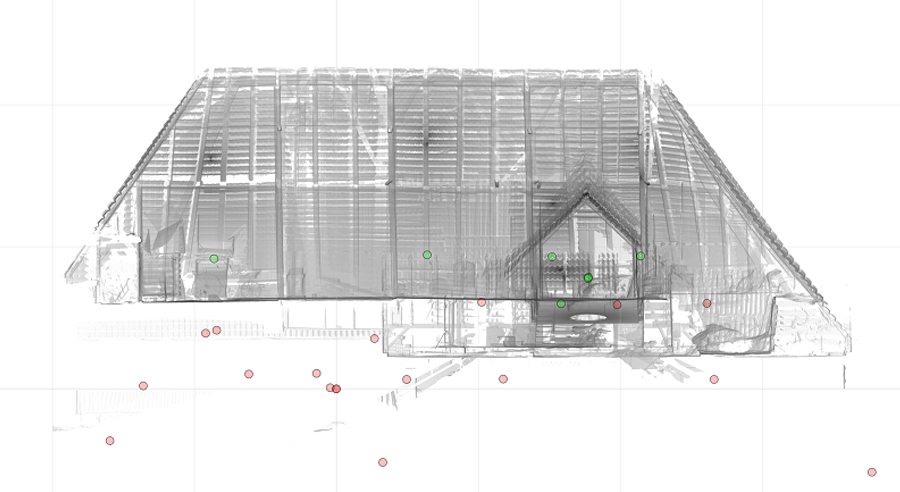
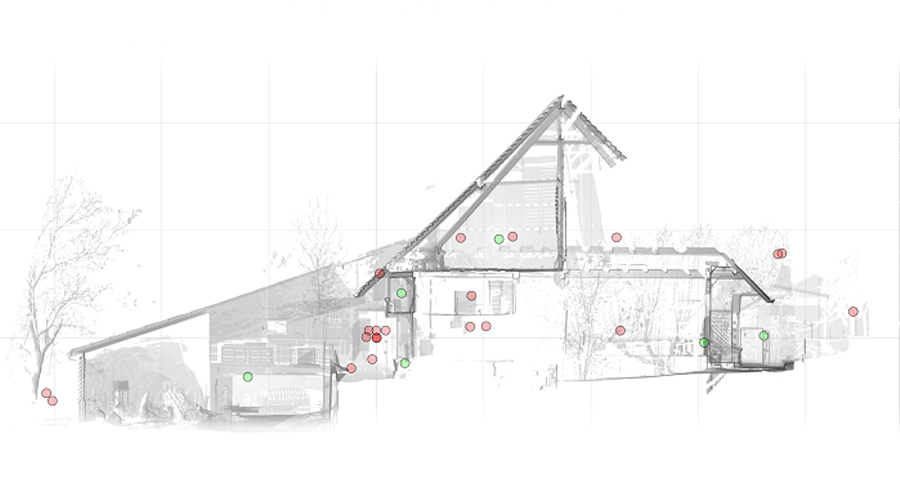
Height and Cluster Navigation
What it’s for
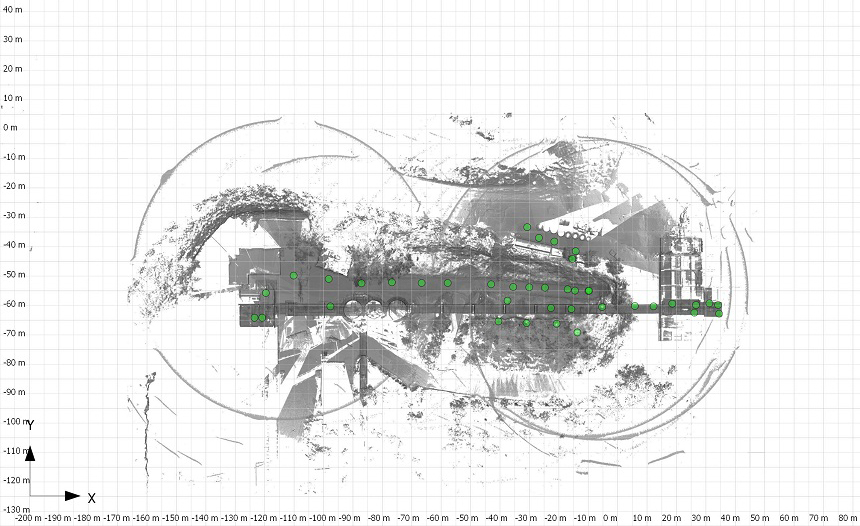
To make navigation in Nebula even more intuitive, scan positions can now be filtered and displayed by height or cluster.
How it works
The video includes a detailed explanation.
The short version? Simply filter by height or cluster and show or hide scan positions as needed.
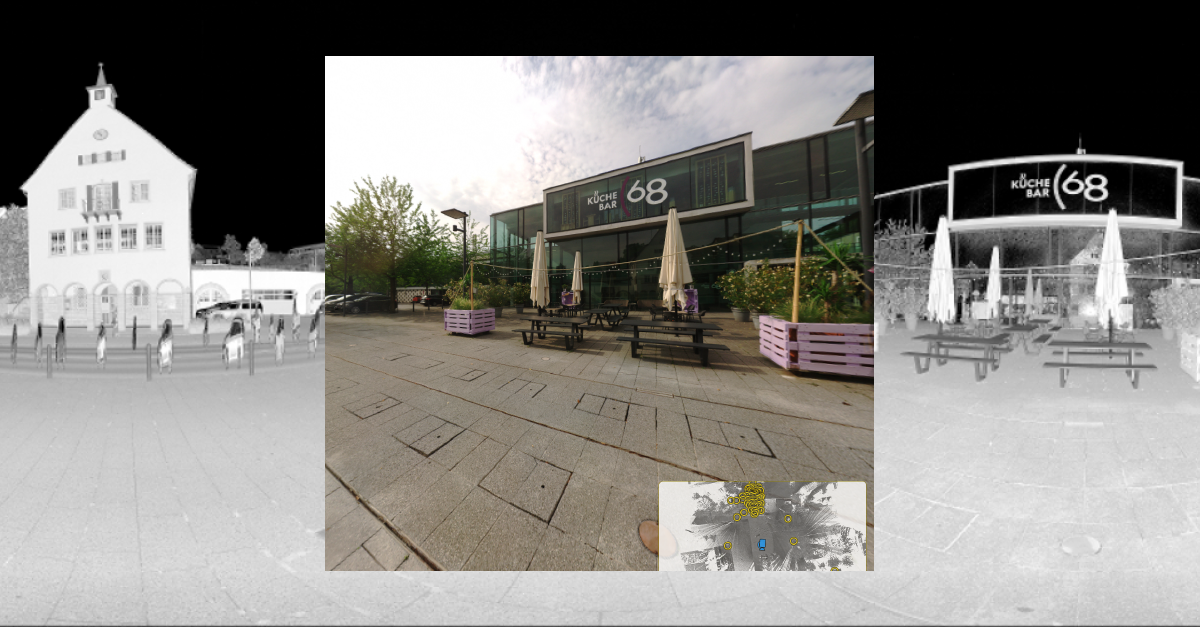
"Display Range" Option in Bubble Views
What it’s for
The perfect complement to the new height and cluster navigation! The “Display Range” function allows scan positions to be shown or hidden based on their distance from your current viewpoint in the Bubble View.
How it works
Simply select the distance from which scan positions should be displayed via the menu in the top right corner.
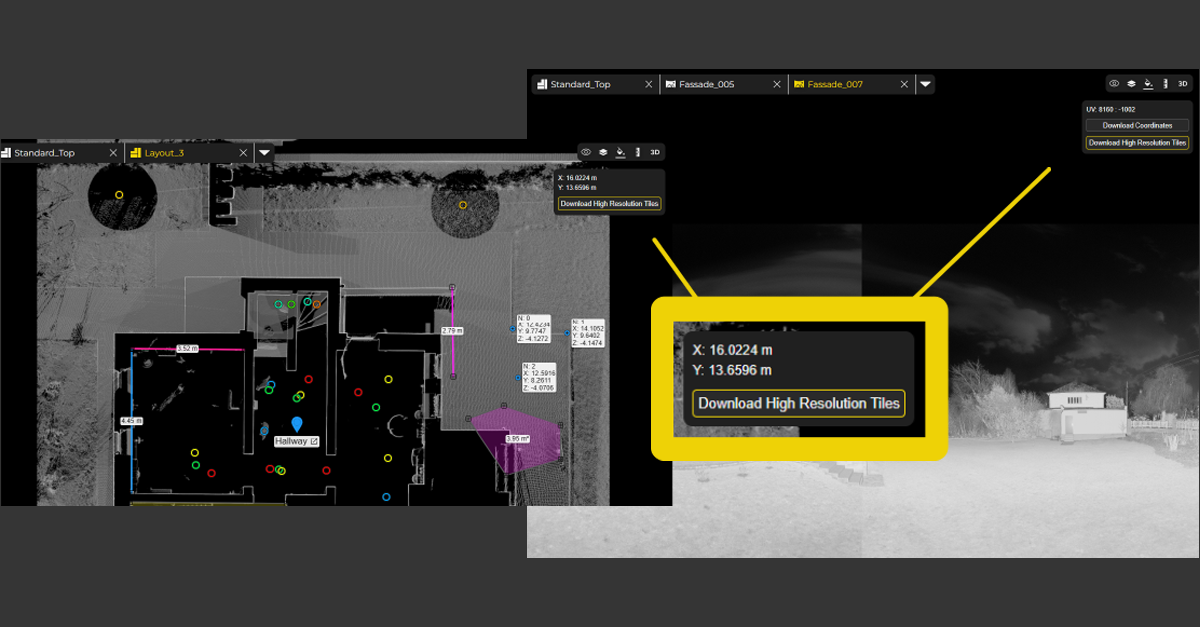
Measurements & POIs in Bubble Views
What it’s for
Another great enhancement for the Bubble View: measurements and POIs can now also be created directly within the Bubble View.
How it works
Download the coordinates, then use Ctrl + mouse click to measure distances and 3D points.
Of course, POIs can also be enriched with additional links and documentation.
3. Nebula 2.1 – More New Features
4. Nebula 2.1 – Refinements and Fixes
- Improved clipping box handling
- Improved Settings behaviour & appearance
- Improved workflow for purchasing additional slots
- Improved 3D Visualization
- Improved Mini Map for easier navigation
- Extended measurements units (feet)
- Dynamic point-display adjustment for improved performance
- Optimized point cloud loading for faster performance
- Fix: Updates are synchronized in real time across all views
- Fix: Unified sharing links for all users
- Fix: Automatically update public links
- Fix: Microsoft SharePoint Public Links
- Fix: Sidebar issues in Firefox
Book your demo today!
Want to see those shiny new features first-hand?
Simply book a free, no-obligation demo with one of our support engineers below.
Want to keep up with the latest pointCab news?
Then follow us on Social Media or subcribe to our newsletter!